
3. Configure your tables in Simon's Schema Builder
You're nearly ready to start building campaigns!
Wait for us to say goOnce you've given us your table information (Step 1), and connected to Snowflake (Step 2), we'll get to work pre-populating your Identity Table in the schema builder for you.
We'll let you know when this is available, then you can continue with the steps below ⬇️ to choose property and event tables.
1. Add one or more customer property tables to Simon’s schema builder
- From the left navigation, click Schema Builder.
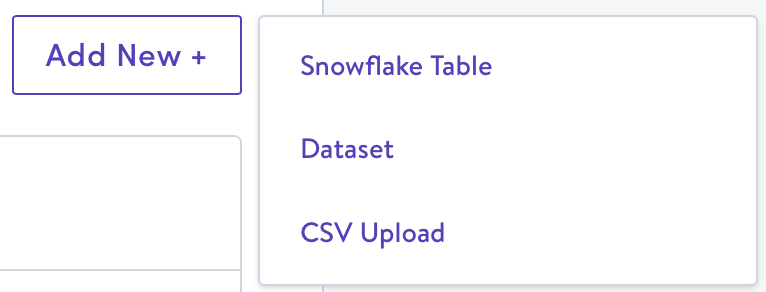
- Click Add New +.
- Choose the source type: Snowflake Table.
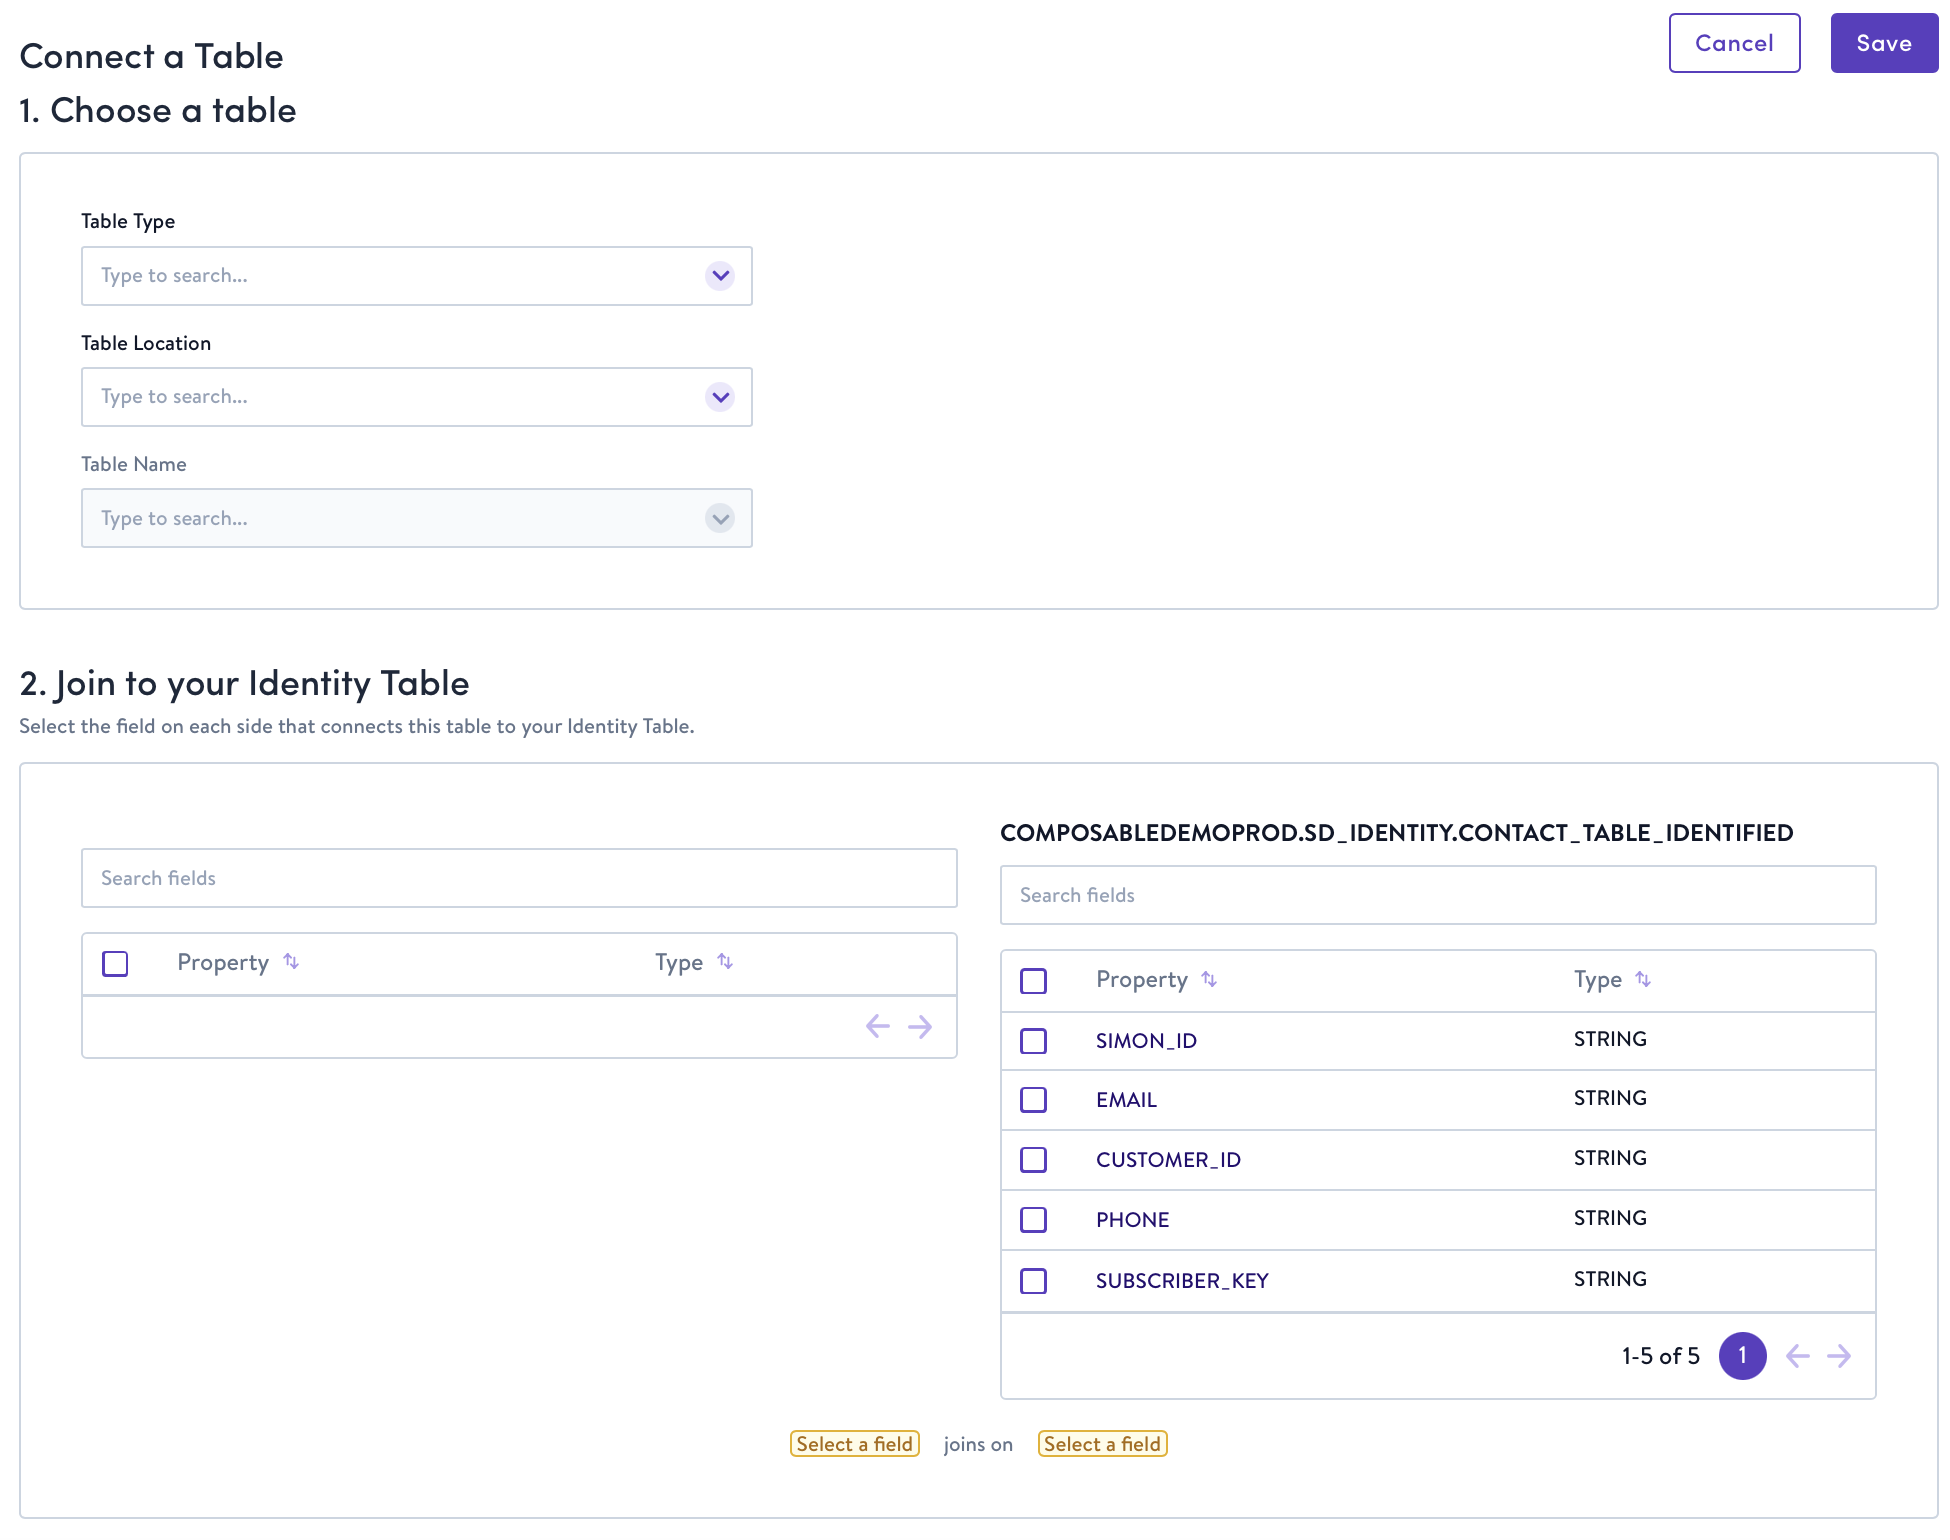
The connect page walks you through numbered sections, in order:
- In 1. Choose a table, complete the fields described below:
| Field | Description |
|---|---|
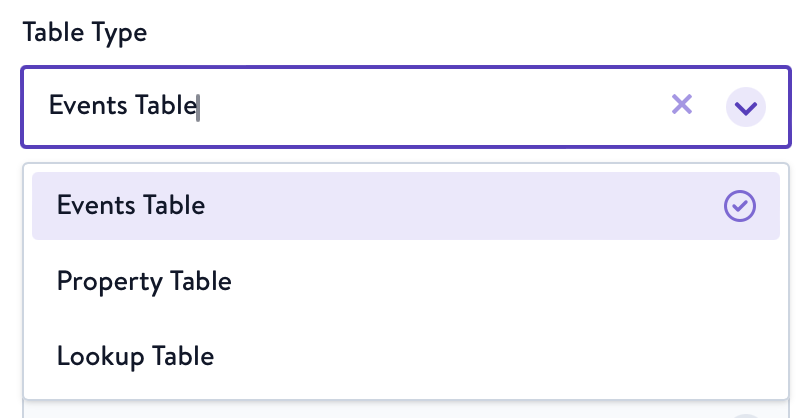
| Table Type | Events Table (1:many relationship), Property Table (1:1 relationship), or Lookup Table (non-contact data, e.g. product catalog) |
| Table Location | Database and schema within which the table is located |
| Table Name | Name of table within the table location |
- In 2. Join to your Identity Table, select the field on each side that connects this table to your Identity Table. Your new table's fields and your identity table's fields appear side by side, each with its own search, and a summary below confirms the configured join. If the two fields have different data types, Simon shows a caution that the join may not match rows.
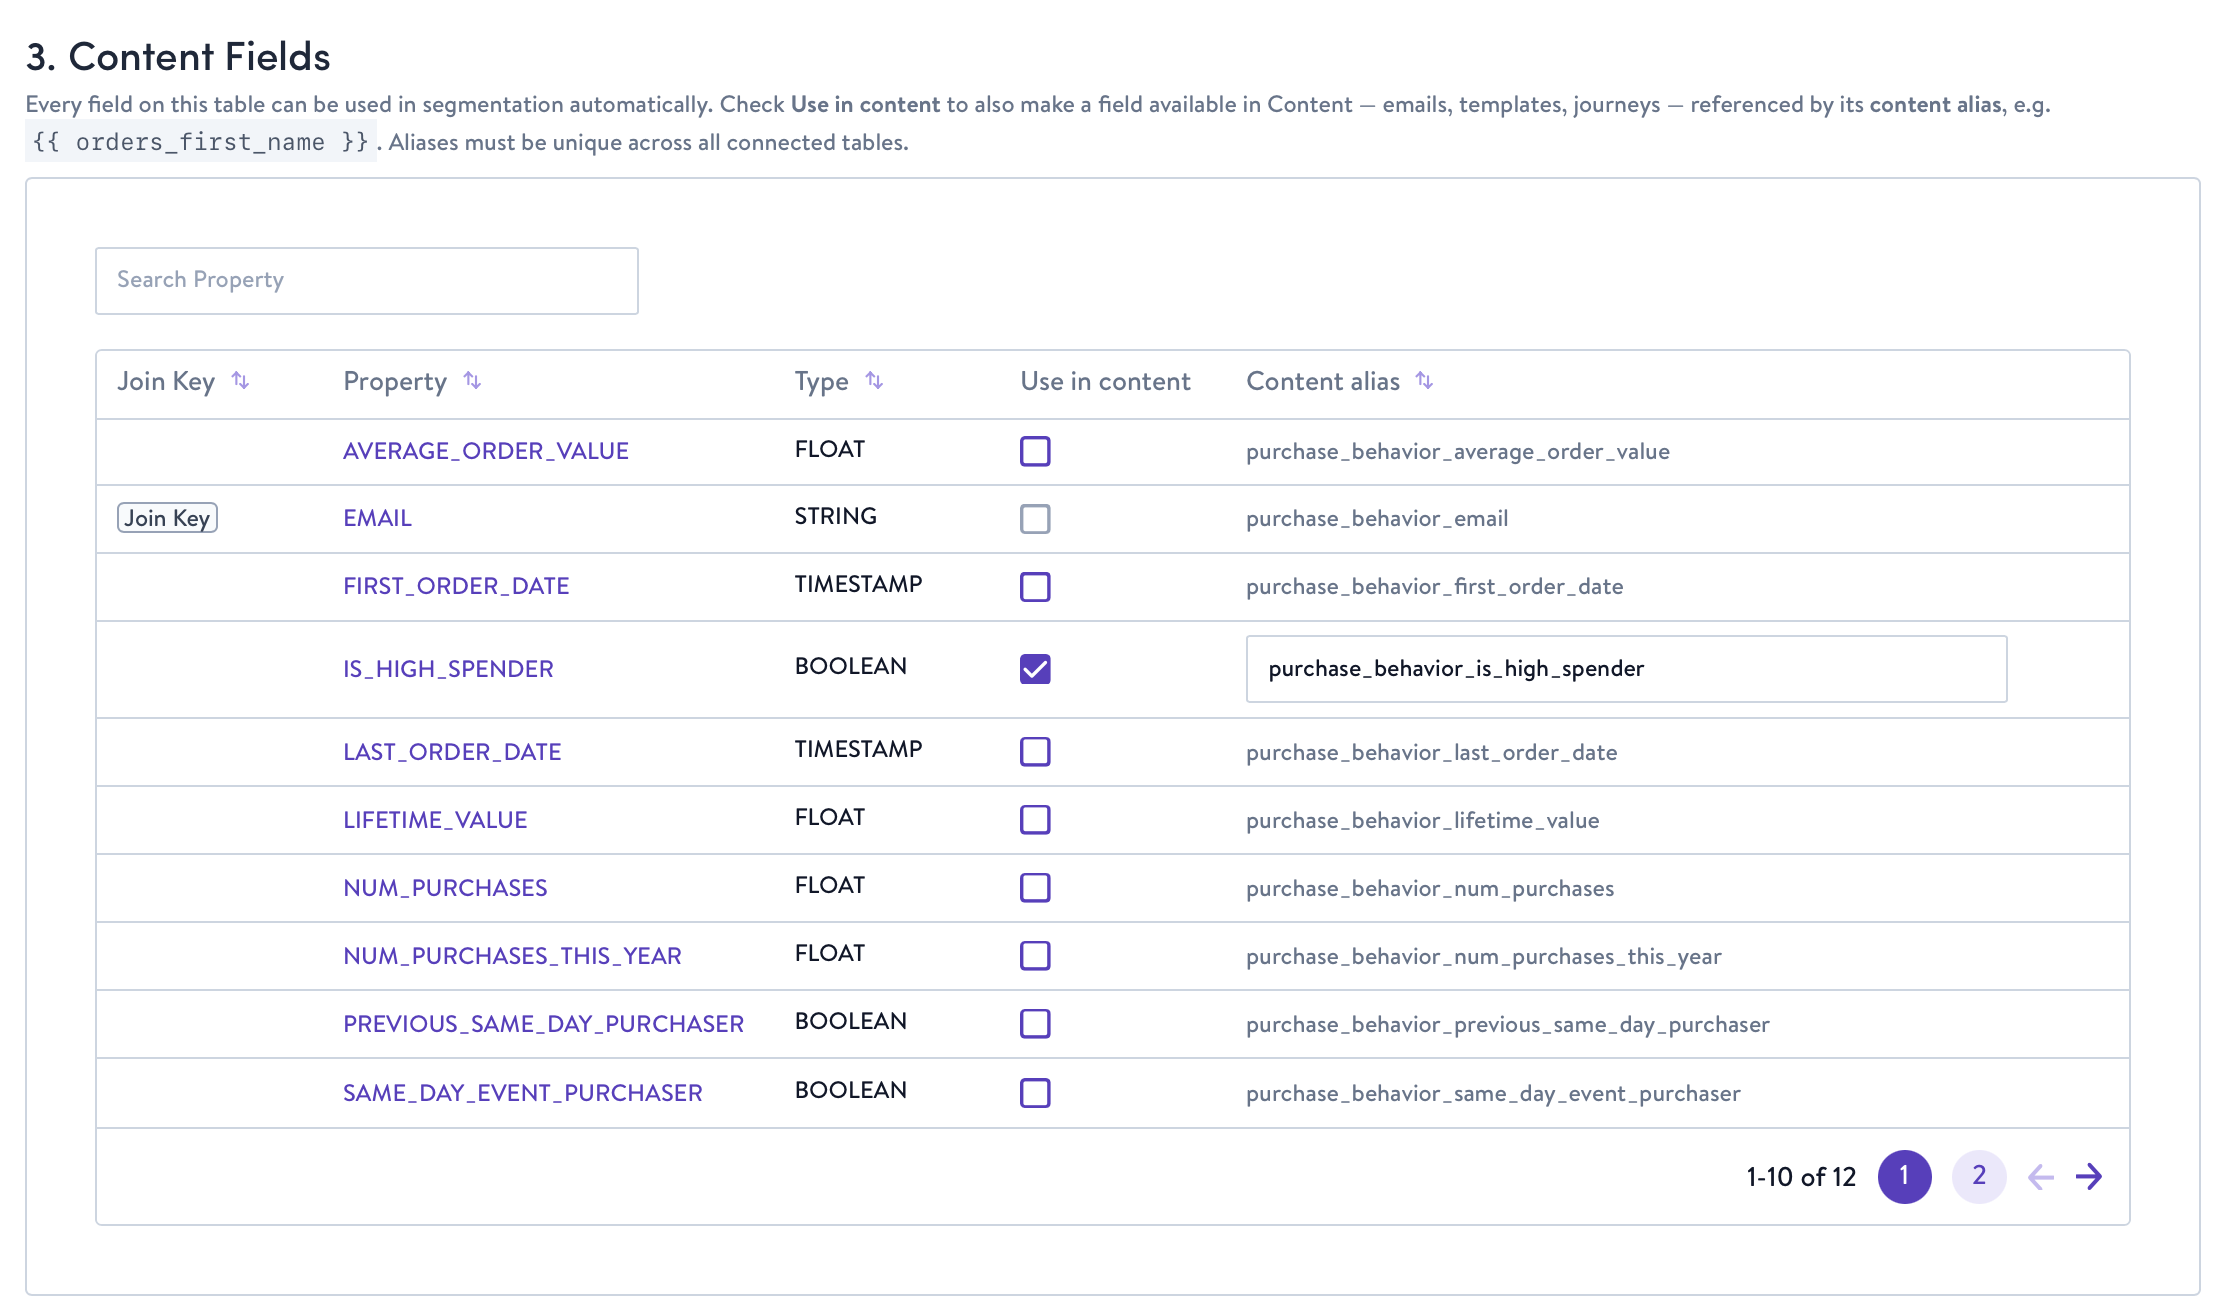
- In 3. Content Fields, choose which fields to make available in Content. Every field on the table can be used in segmentation automatically — checking Use in content also makes a field available in Content (emails, templates, journeys), where it's referenced by its content alias (e.g.
{{ orders_first_name }}).- The default content alias follows this naming convention:
tablename_fieldname. The alias becomes editable once you check Use in content for the field. Note that no two fields connected to Simon can have the same content alias.
- The default content alias follows this naming convention:
Best Practices
- We recommend you start with a subset of data that enables you to configure a single use case and add additional use cases as you go, rather than starting with all of your data.
- Properties have a 1:1 relationship with customers, like Lifetime Value or First Order Date. If this table contains more than one record per customer, it may lead to issues when creating segments and syncing data downstream.
- We determine the set of operations you can perform on a field in the segment builder by the field type in Snowflake. This type displays here in the schema builder, but is managed in Snowflake.
2. Add one or more event-based tables to Simon’s schema builder
Follow the same steps as above but choose Events Table as your table type:
- Join this table to your identity table by one of the identity columns specified
- This table can have multiple records for a given row in your identity table (e.g.
customer123abcplaced 2 orders, so you have one row for each of their orders)- It’s best practice for events to have a timestamp associated with each record, but not required. This allows marketers flexibility in the segment builder to look for contacts with events within a certain period of time (e.g. last 7 days) that meet specific criteria.
3. Add one or more non-contact data tables to Simon's schema builder
You can either connect lookup tables directly from Snowflake or create lookup tables via Simon's self-service SQL editor. To connect a lookup table, follow the steps above but choose Lookup Table as your table type:
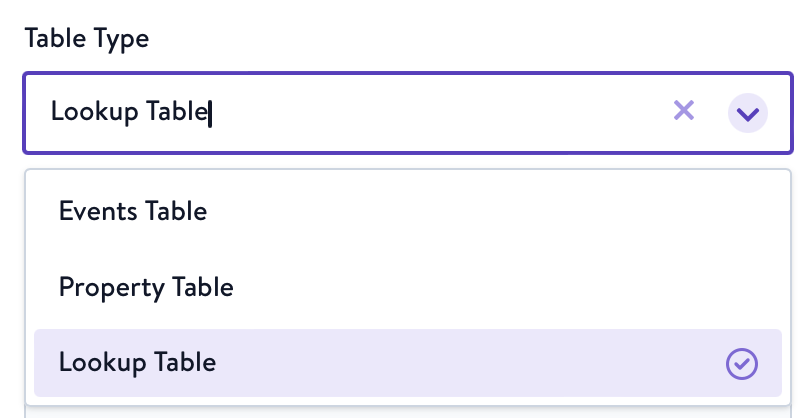
- Because lookup tables don't contain PII, marketing channel identifiers, or any other data that's directly tied to your customers, you choose a Lookup Key — the primary key of the lookup table — rather than joining to your identity table.
Updated about 2 months ago
Did this page help you?