
Identity Models & Management
Overview
The Identity Deployment Framework is Simon's identity management solution; it's a robust and versatile product designed to streamline and optimize identity management via Simon Data. At a high level, this framework provides you with the ability to create and manage multiple identity tables by facilitating seamless comparisons across identity table versions, QA mechanisms, and the deployment of the new identity table to production.
This feature is admin-only.If you do not have admin permissions, you will not be able to access the Identity page or make changes to your organization's identity model.
Why is this important?
An identity model is the foundation of your CDP; without it, you're are blocked from effectively using the rest of the platform, and we are blocked from providing you with solutions to your marketing use cases.
There are many reasons why an organization would want or need to change their identity model, and the Identity Deployment Framework facilitates these changes:
- Add a new identifier and/or data source
- Remove an old identifier and/or data source
- Database or schema migration
- Change your stable identifier
- Update a timestamp field
- Filter bad values (e.g. test emails, fake emails, etc.)
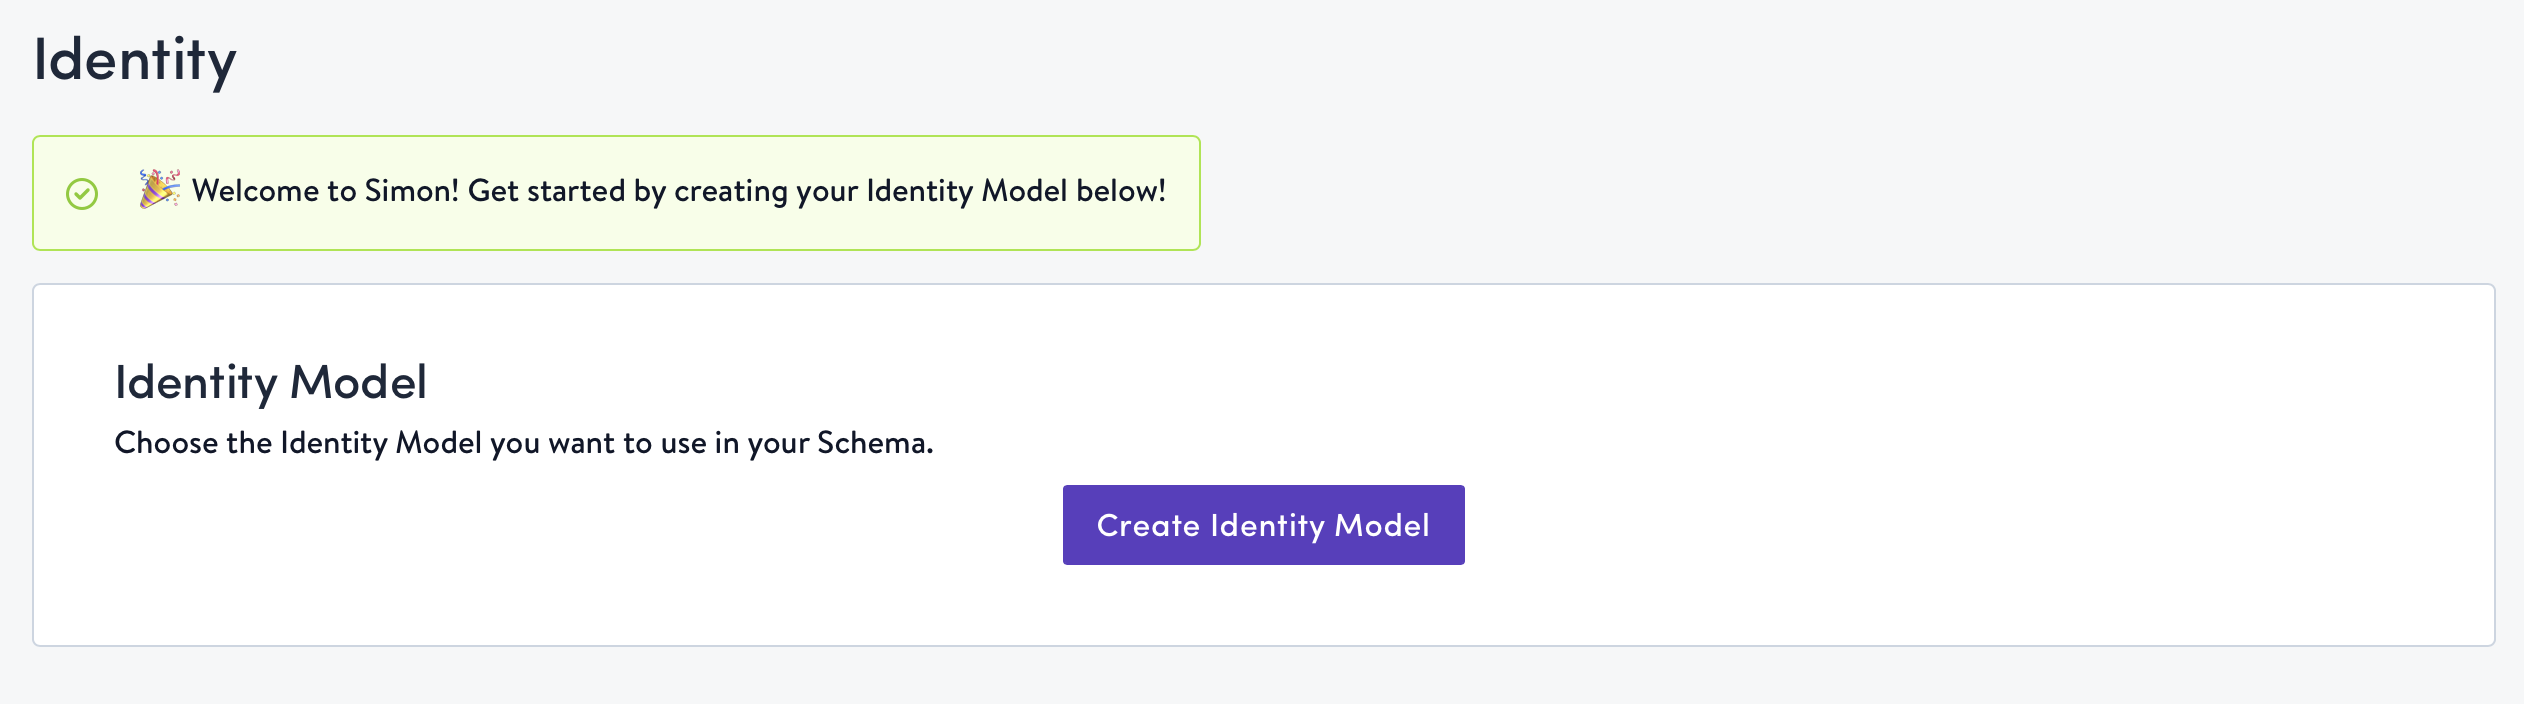
Create your first identity model
- Click Identity in the left-hand navigation bar, then click Create Identity Model.
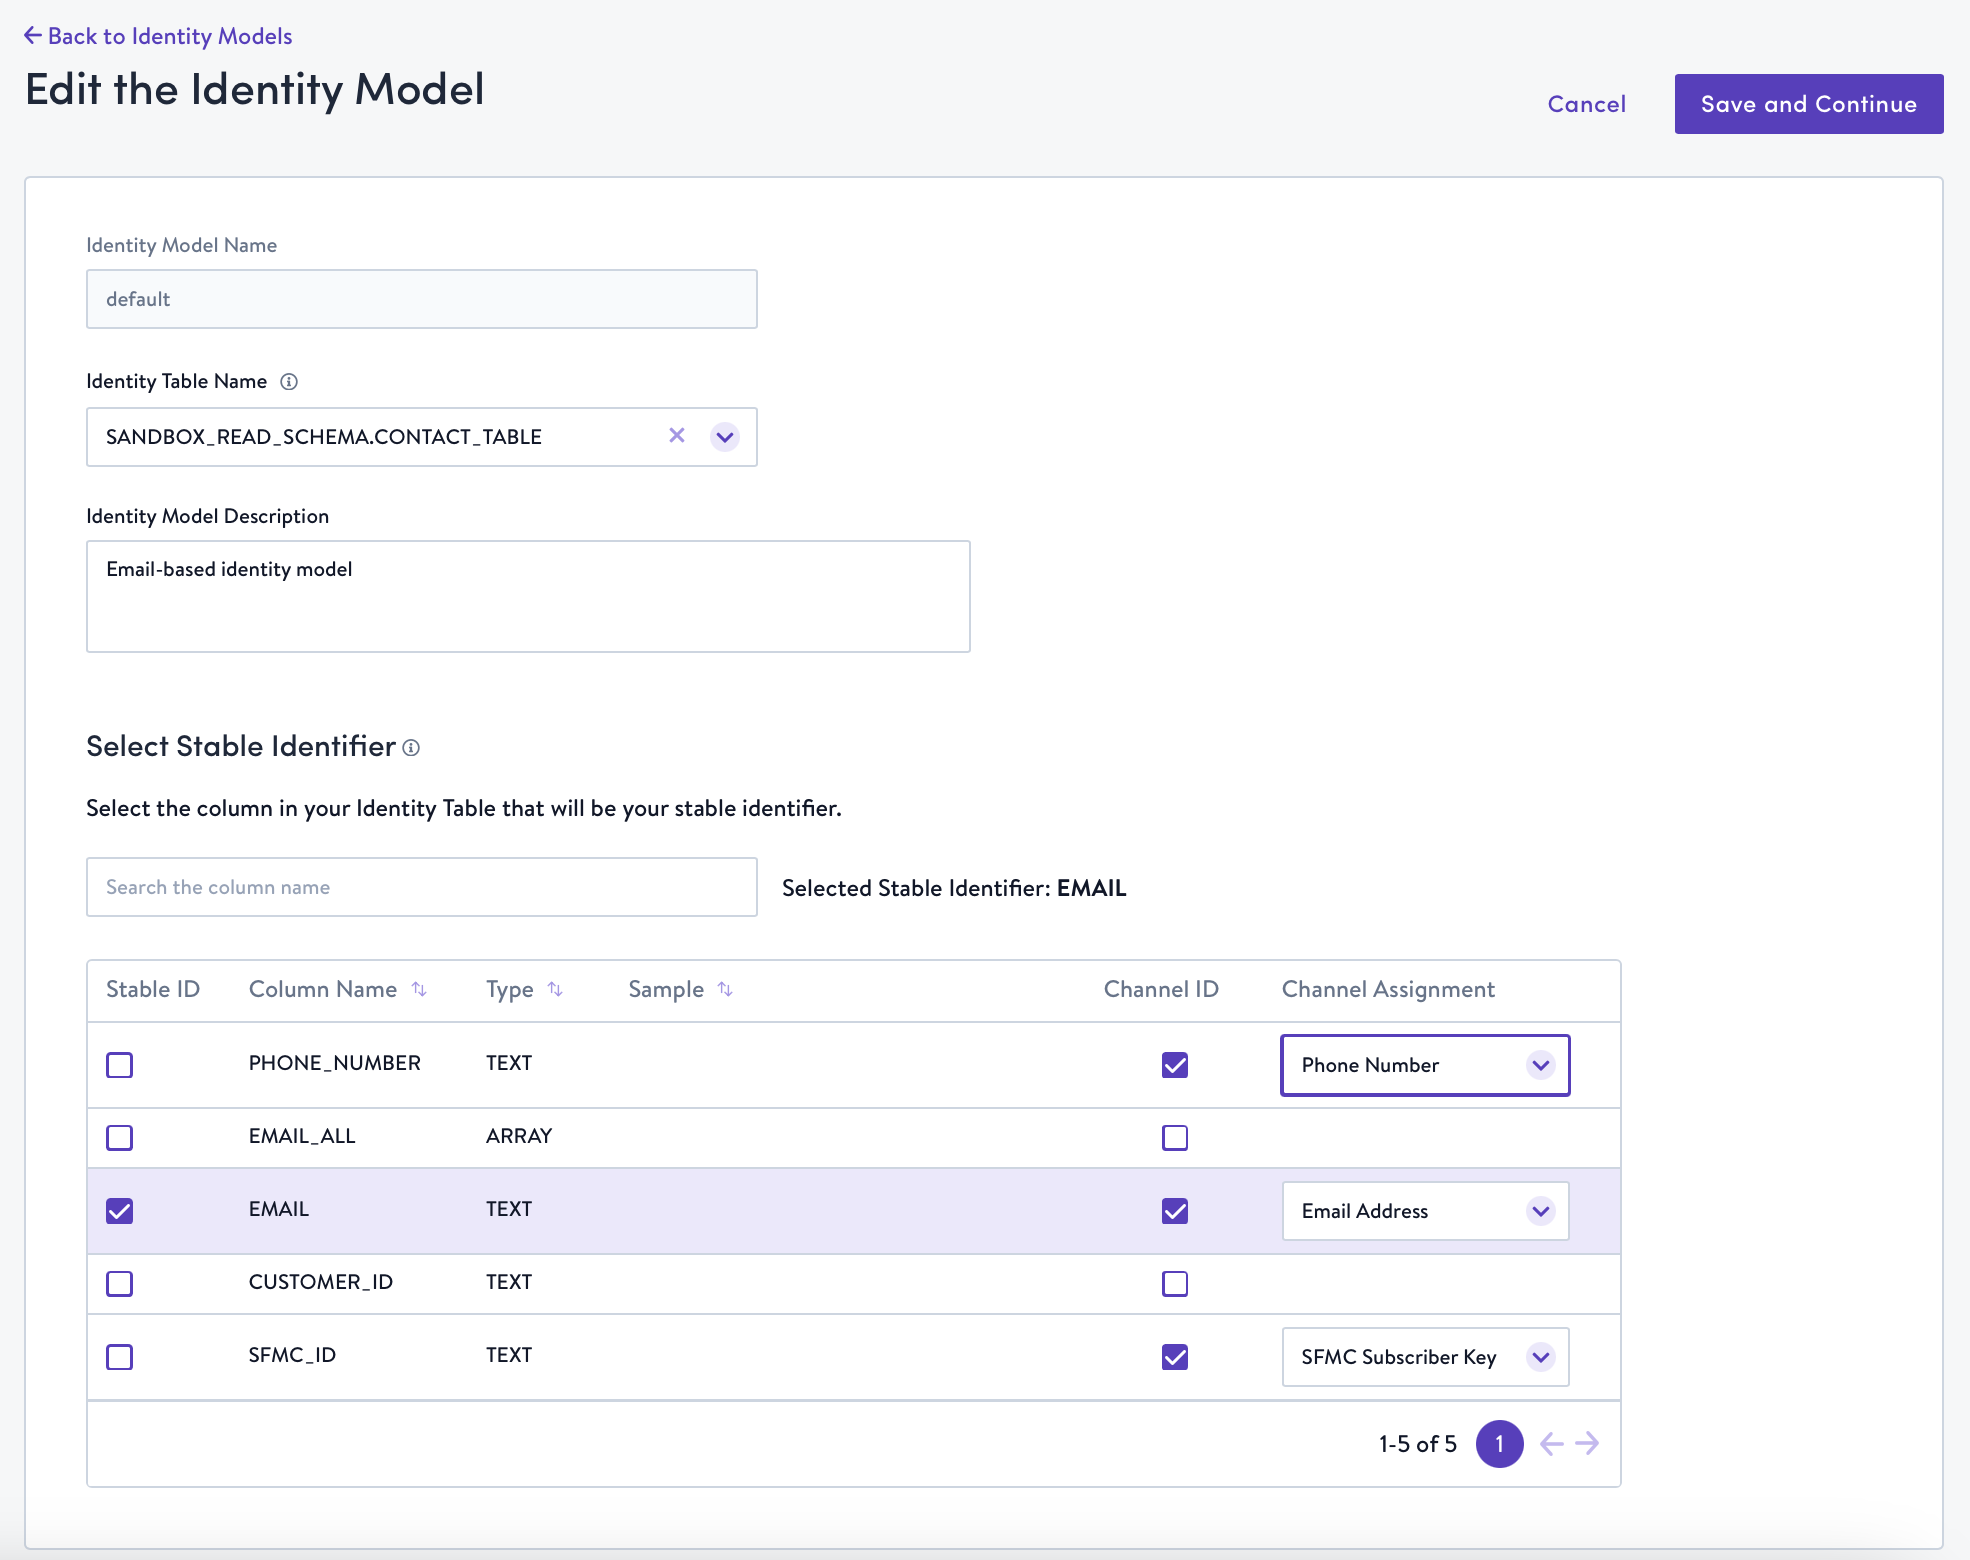
- Select your identity table from the dropdown, and write a brief description of it if you wish.
- Configure your stable identifier and channel identifiers.
- A stable identifier field contains a unique value assigned to a given contact whose value will never change. Some common stable identifiers are UserID, CustomerID, or even email. It is most likely one of the first few columns in your table. This will be the column you use to identify each contact in Simon.
- Channel identifiers must be configured in order to successfully sync to end channels from Simon. Not every end channel has their own identifier; in most cases, you will map your email field to Email Address and your phone number field to Phone Number.
- Click Save and Continue.
- Simon provides several high-level metrics for you to determine whether or not the identity table you're connecting is high-quality. You can also see the metrics of your new draft identity model compared to the metrics of your current live identity model to ensure the new model won't introduce any unexpected changes.
- Identifier: This column is a list of individual identifiers that are present in your identity table. These fields should not be surprising to you, and your stable identifier will be denoted as such.
SIMON_IDhas been added to the table as well; if your stable identifier andSIMON_IDcoverage numbers do not match, this indicates the existence of profiles that do not have a stable identifier.
- Coverage: This column represents a total count of the number of records present in the identity table.
- Coverage (%): This column shows the percentage of total profiles that have a value for each identifier. If this percent is less than 100% for a given identifier, that means not every profile contains that identifier.
- Cross-profile: This column displays the number of times the same value for a given identifier is shared across 2, 3, or 4 other profiles.
- Cross-profile (>5): This column displays the number of times the same value for a given identifier is shared across 5, 6, 7, 8, or 9 other profiles.
- A number greater than 0 in this column might indicates a data quality issue that should be investigated, depending on your data or business model.
- Cross-profile (>10): This column displays the number of times the same value for a given identifier is shared across at least 10 other profiles.
- A number greater than 0 in this column usually indicates a data quality issue that should be investigated.
- Identifier: This column is a list of individual identifiers that are present in your identity table. These fields should not be surprising to you, and your stable identifier will be denoted as such.
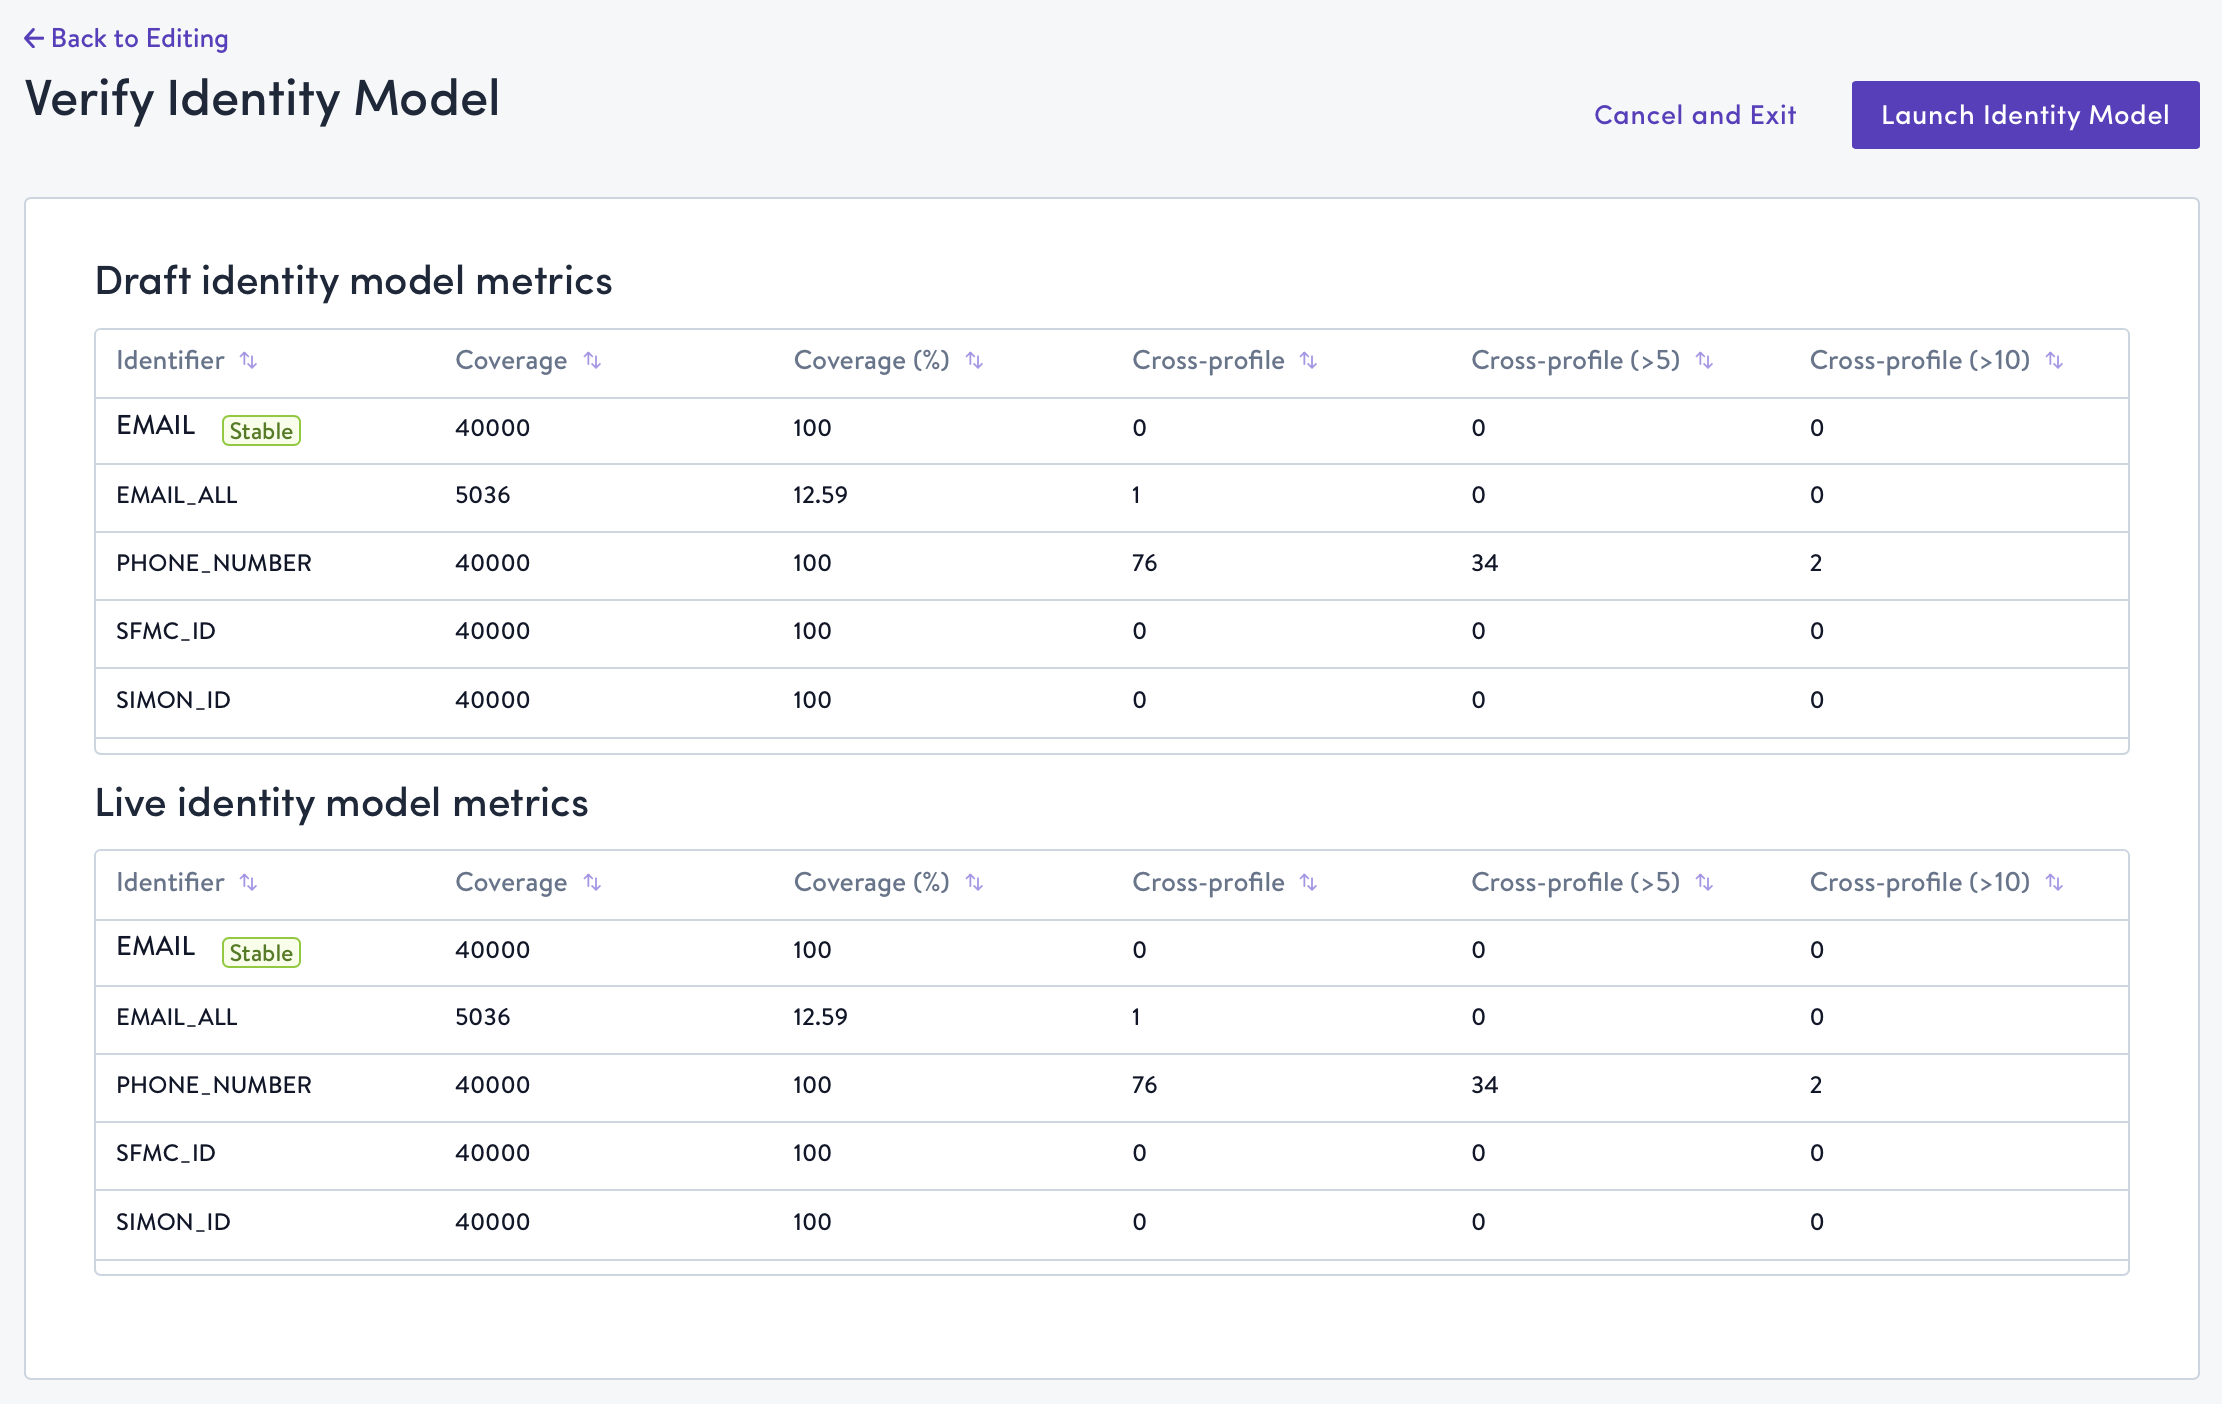
- If you're satisfied with your identity table QA metrics, click Launch Identity Model. Your identity model is now live, and you are able to start connecting other tables or creating datasets.
Change your identity model
STOP! Before you make any changes...We recommend that instead of making changes directly to the underlying identity table that's currently connected to Simon, you create a new identity table in your Snowflake instance and connect the new table to Simon here. This ensures that you go through proper validation and QA via the deployment framework; otherwise, breaking changes might be unknowingly introduced and cause downstream problems in Simon.
- Click Identity in the left-hand navigation bar, then click Go to Draft.

- The edit page will pre-populate with the current live version's configuration. Select your new identity table, and change the description to call out the changes you'd like to make. This ensures that any member of your team who's looking at the page displayed in the screenshot above can see why a change was made and a new identity model was introduced.
- Follow steps 3-6 listed above in the Create your first identity model section.
Updated about 1 year ago